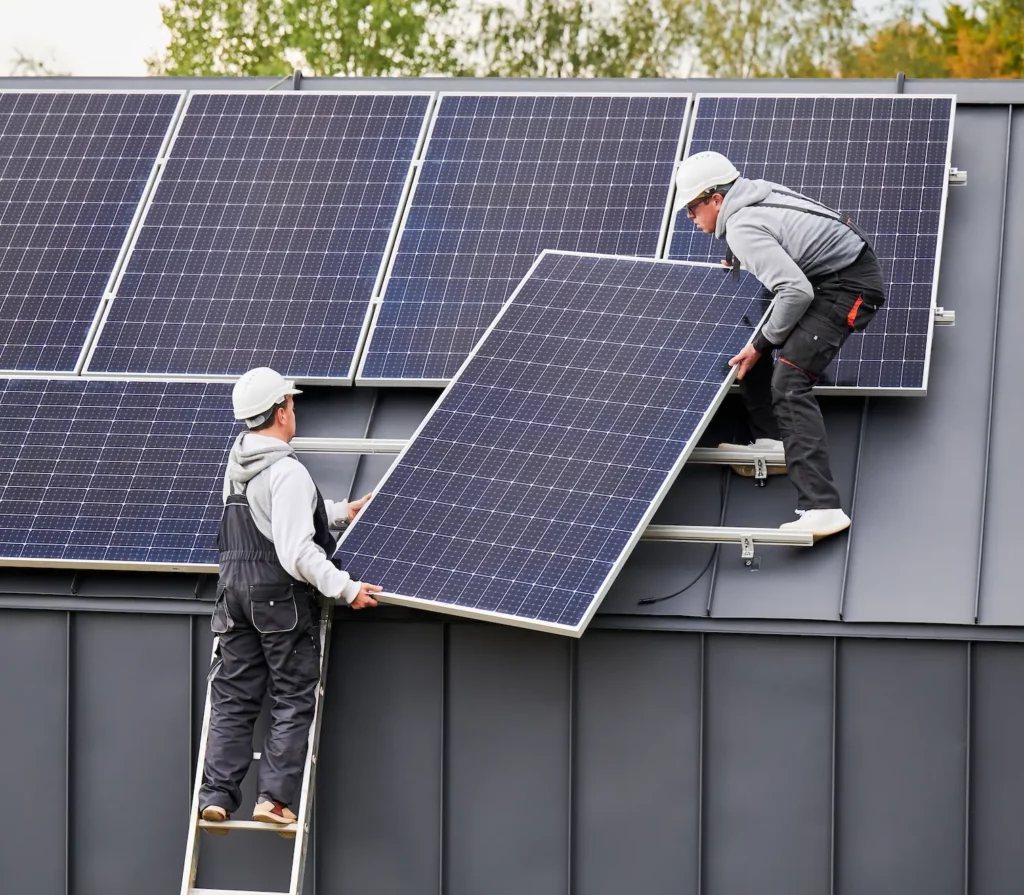
You have probably seen homes with solar panels on the roof and wondered how the process works. Solar energy is a smart way to lower electricity bills and use clean energy, but proper planning is important before installation day.
The good news is that most of the work can be handled by a professional solar company. Still, understanding the process helps homeowners prepare their property and avoid delays.
This residential solar advice guide explains the most important steps before installing a home solar system.
Step 1: Check Your Roof Condition
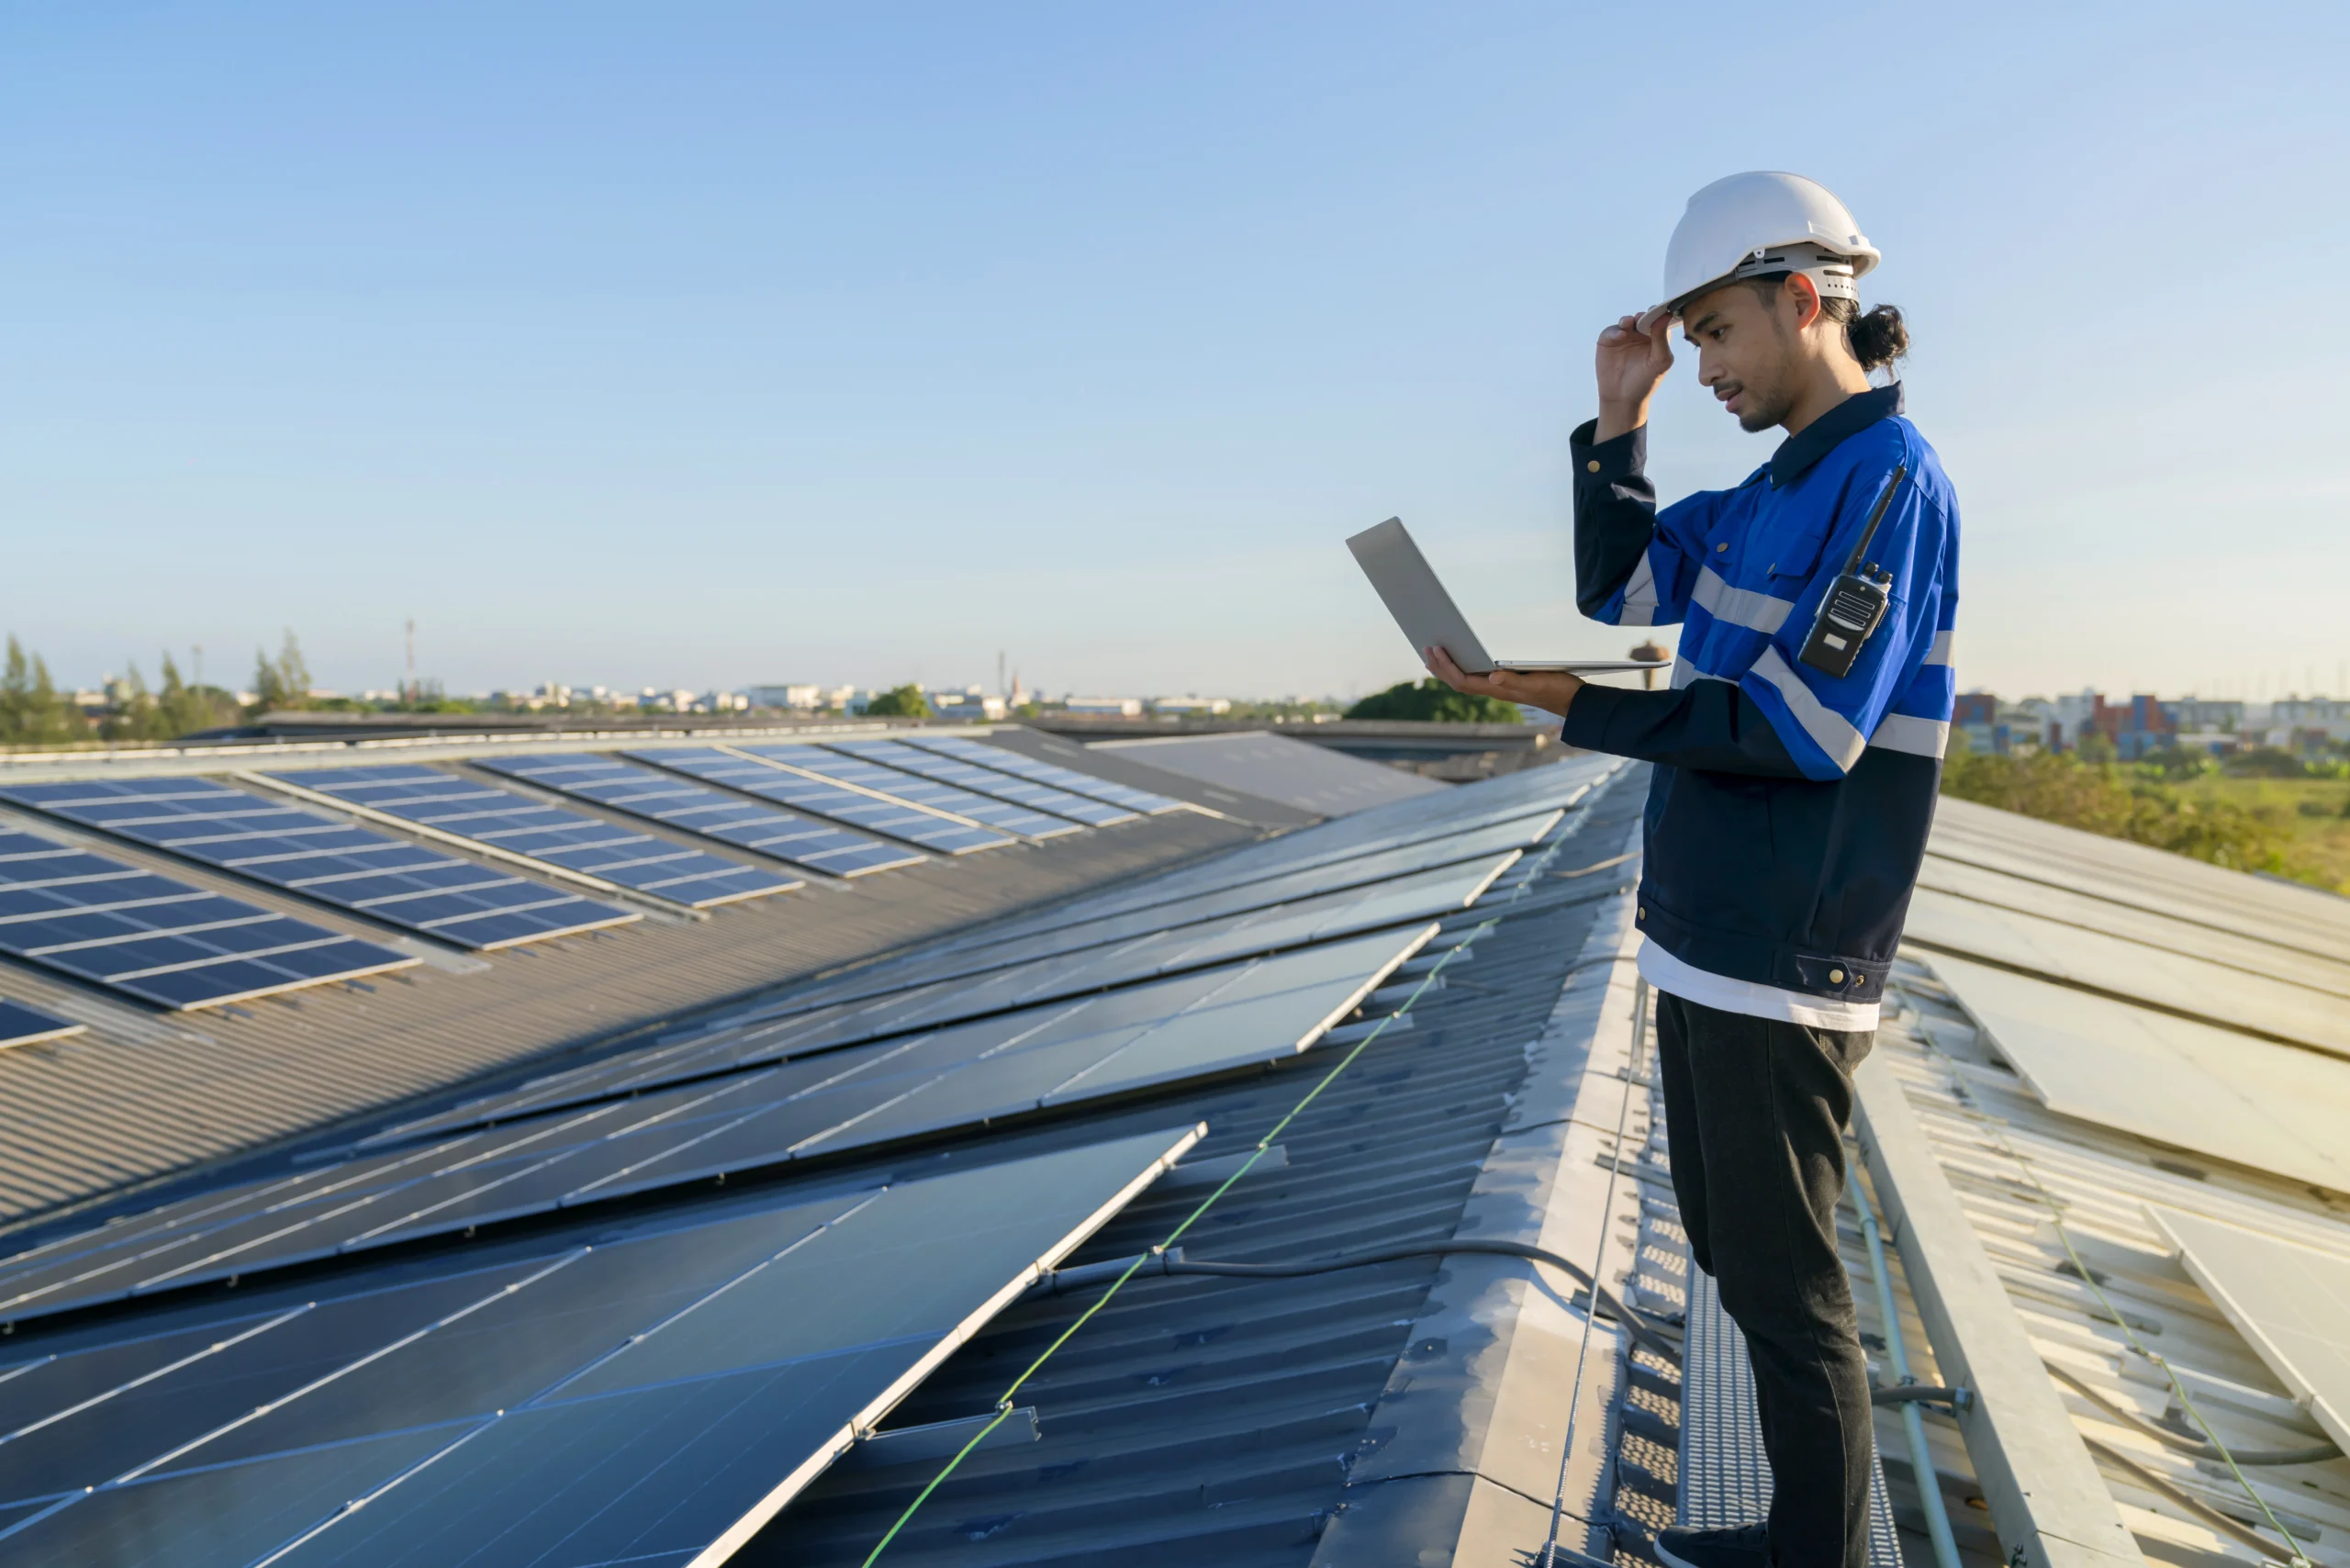
Before installing solar panels, your roof should be inspected carefully. Solar panels can last 25 years or longer, so your roof should also be strong enough to support them for many years.
A professional roofing and solar team can inspect:
- Roof age
- Roof damage
- Weak areas
- Water leaks
- Roof structure
If repairs or roof replacement are needed, it is best to complete them before solar installation.
Quick Tip
If you already plan to replace your roof, combining roofing work with solar installation can save both time and money
Step 2: Understand Your Energy Usage
One of the best residential solar advice tips is to understand how much electricity your home uses each month.
Your solar installer may review:
- Recent electric bills
- Average energy usage
- Future energy needs
If you plan to:
- Buy an electric vehicle
- Add a pool or hot tub
- Install new appliances
tell your installer early so the solar system can be designed correctly.
Step 3: Improve Sunlight Exposure
Solar panels work best in direct sunlight. Shade from trees, buildings, or chimneys can reduce solar panel performance.
Ways to Improve Solar Efficiency
- Trim tree branches
- Remove objects blocking sunlight
- Choose the best roof area
- Check sunlight during different times of the day
Most professional solar companies use advanced tools or drone technology to find the best panel placement.
Step 4: Inspect Your Electrical System
Your electrical panel must support your new solar energy system.
Some older homes may need:
- Electrical panel upgrades
- Wiring improvements
- Safety updates
A licensed electrician or solar installer can check if your system meets local electrical codes and safety standards.
Step 5: Understand Permits and HOA Rules
Many cities require permits before solar panel installation begins.
Your solar company usually handles:
- Building permits
- Utility paperwork
- Inspection scheduling
If your neighborhood has a Homeowners Association (HOA), check their solar rules before installation.
Some HOAs may have guidelines for:
- Panel placement
- Roof appearance
- Visibility from the street
Step 6: Plan Your Solar Financing
Solar installation is a long-term investment that can reduce electricity costs for many years.
Common Solar Financing Options
- Cash purchase
- Solar loan
- Solar lease
You should also check for:
- Federal solar tax credits
- Local rebates
- Utility incentives
- Net metering programs
These programs can lower upfront installation costs and increase savings.
Step 7: Prepare for Installation Day
Once permits and approvals are complete, your installation date will be scheduled.
Before the Crew Arrives
- Clear the driveway
- Move vehicles if needed
- Keep pets indoors
- Remove fragile items near work areas
Most residential solar installations take about 1 to 3 days, depending on roof size and system complexity.
Your installer will:
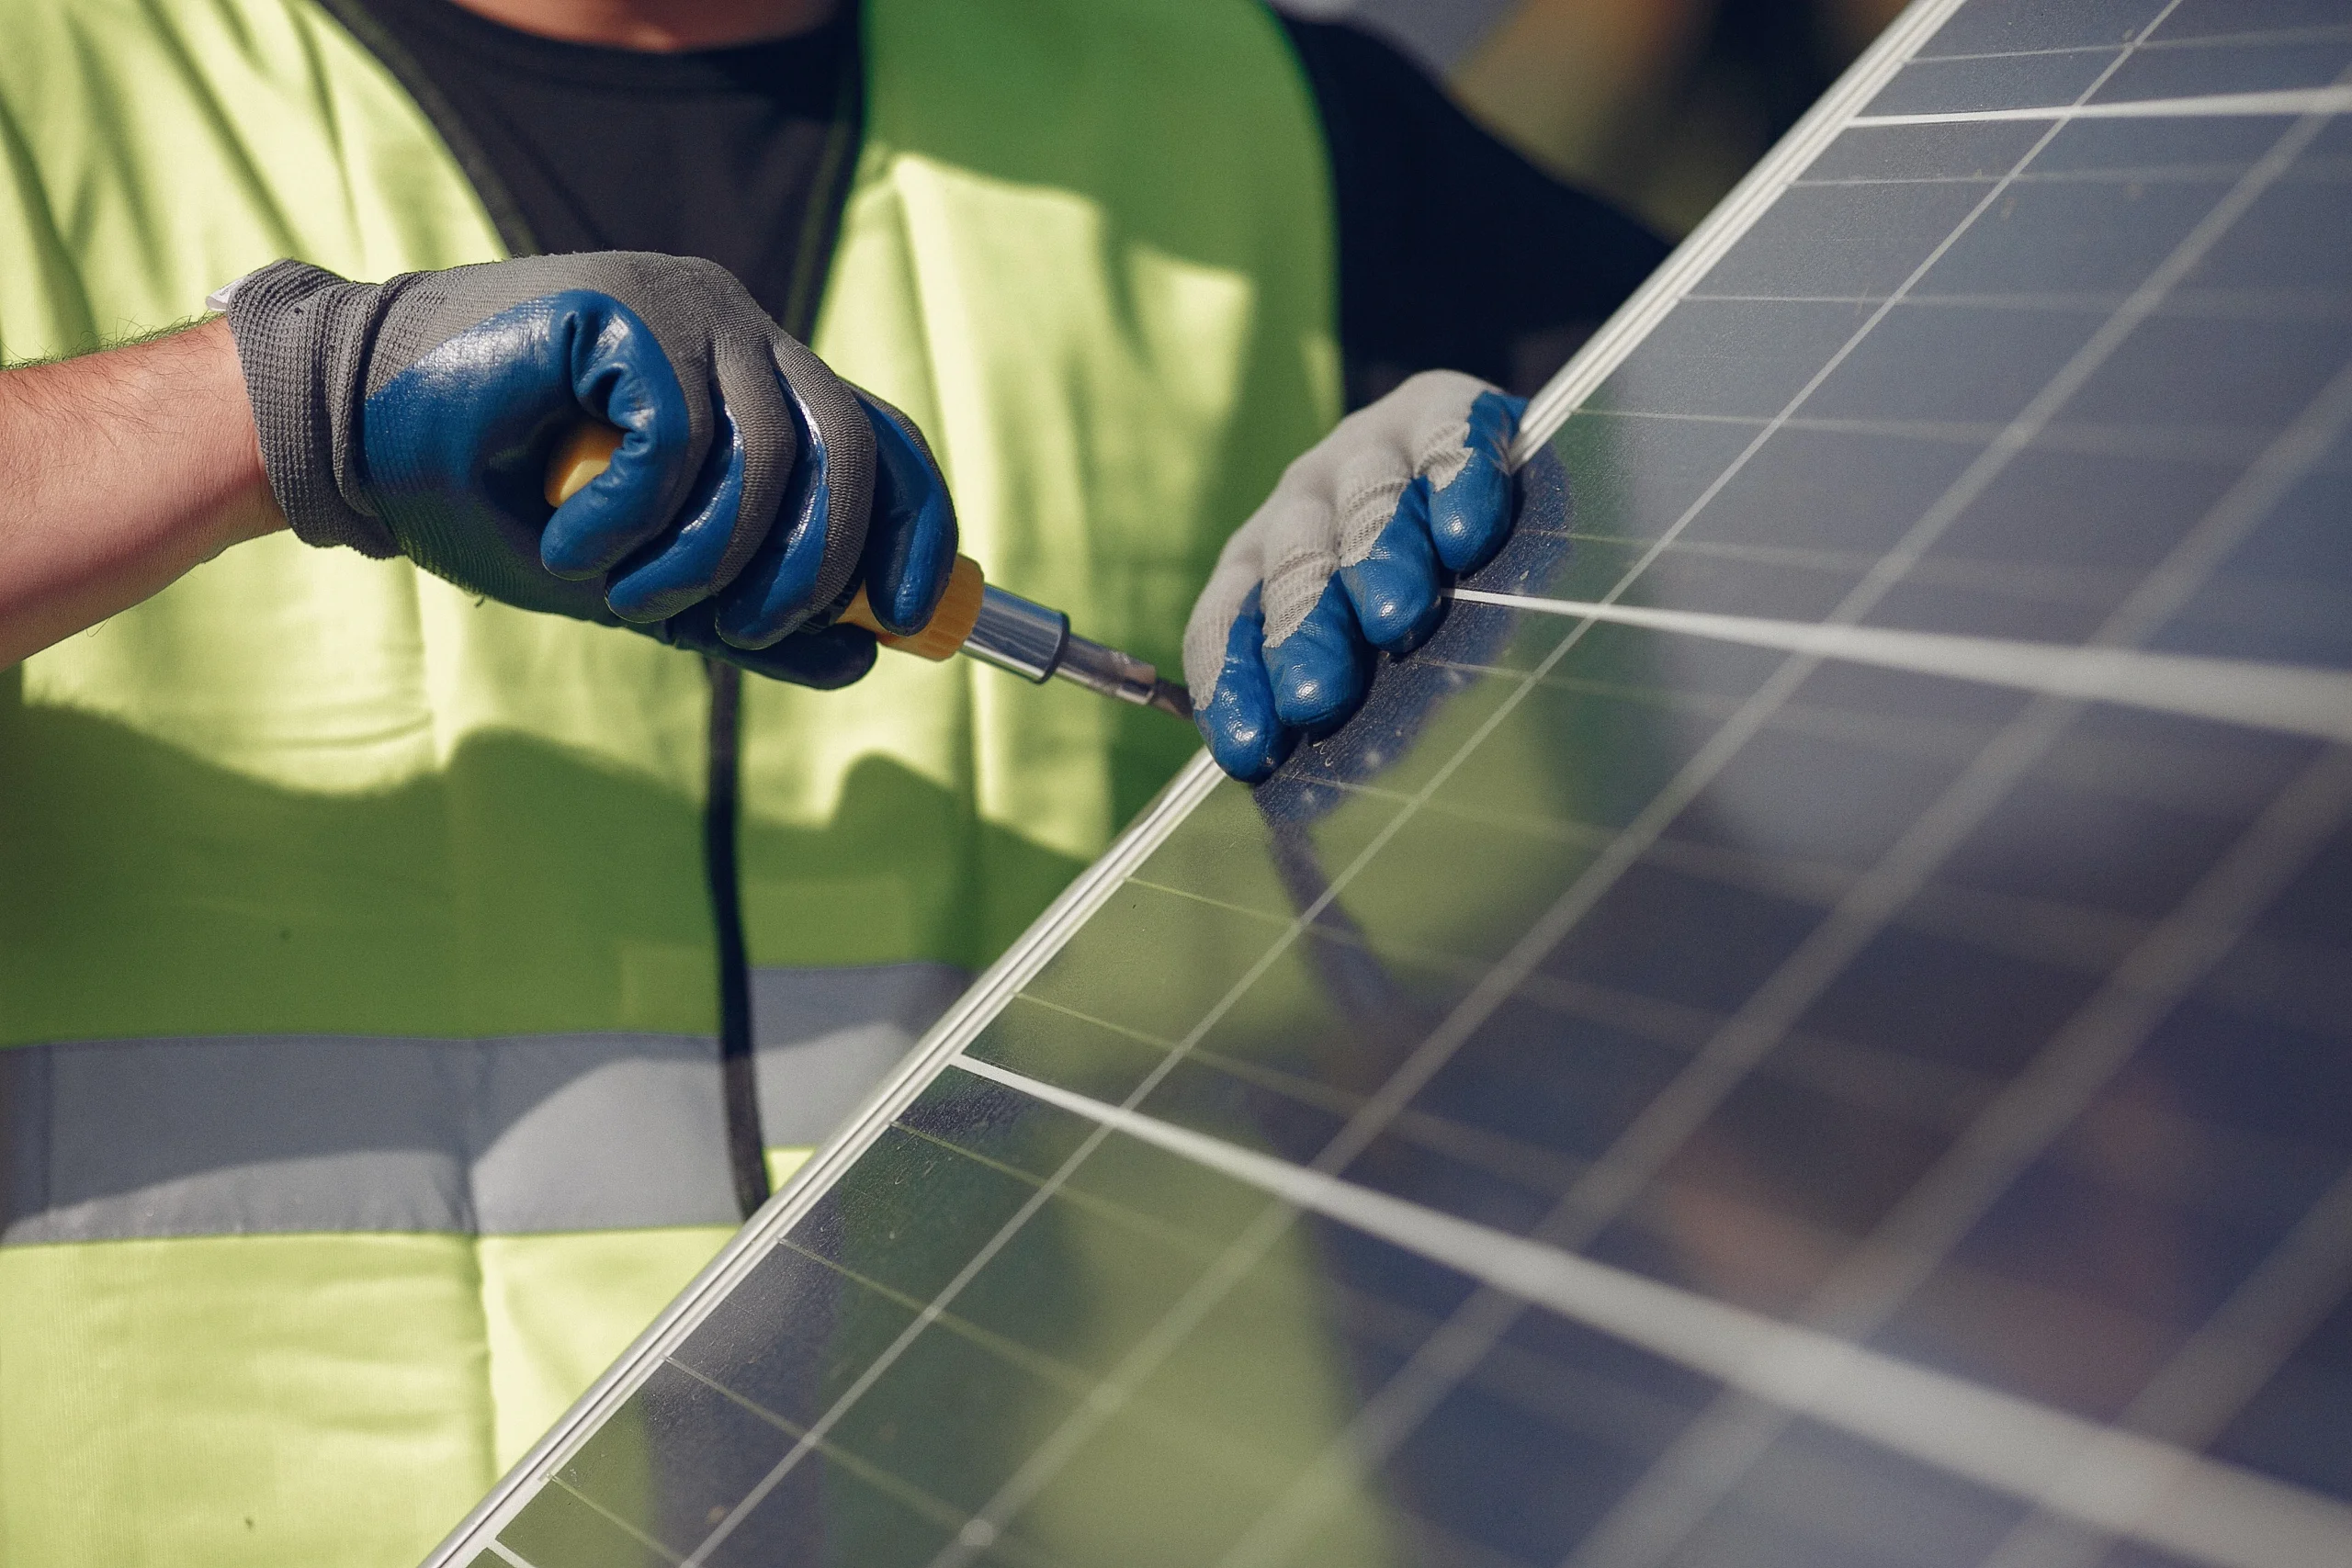
- Mount the solar panels
- Connect the inverter
- Complete electrical wiring
- Test the system
- Set up monitoring tools
Step 8: Activate Your Solar System
After installation and inspection, your solar system can be turned on.
Your installer will guide you through:
- Utility approval
- System activation
- Monitoring setup
- Energy tracking
Once activated, your home will start producing clean solar energy.
Why Home Solar Preparation Matters
Preparing your home before installation helps:
- Avoid project delays
- Improve solar system performance
- Increase long-term energy savings
- Protect your roof and electrical system
- Create a smoother installation process
Good planning helps homeowners get the best results from their solar investment.
Residential Solar Advice Checklist
✔ Inspect roof condition
✔ Review energy usage
✔ Improve sunlight exposure
✔ Check electrical panel
✔ Understand permits and HOA rules
✔ Plan solar financing
✔ Prepare your property for installation
FAQs
-
What is the 20% rule for solar?
The 20% rule means you should not run your solar system at 100% load all the time. You should keep about 20% extra capacity as backup to handle losses, weather changes, and future energy needs.
-
Can I run 1.5 ton AC on a 5kW solar system?
Yes, you can run a 1.5 ton AC on a 5kW solar system, but not all the time. It depends on sunlight, inverter capacity, and other home appliances running at the same time. A battery system helps for better performance.
-
What to do before installing solar?
Before installing solar, you should check:
- Roof condition and strength
- Your monthly electricity usage
- Shade from trees or buildings
- Electrical panel condition
- Local permits and rules
- Budget and financing options
-
What are 5 disadvantages of solar power?
- High starting cost
- Depends on sunlight
- Needs space for installation
- Energy storage (batteries) is expensive
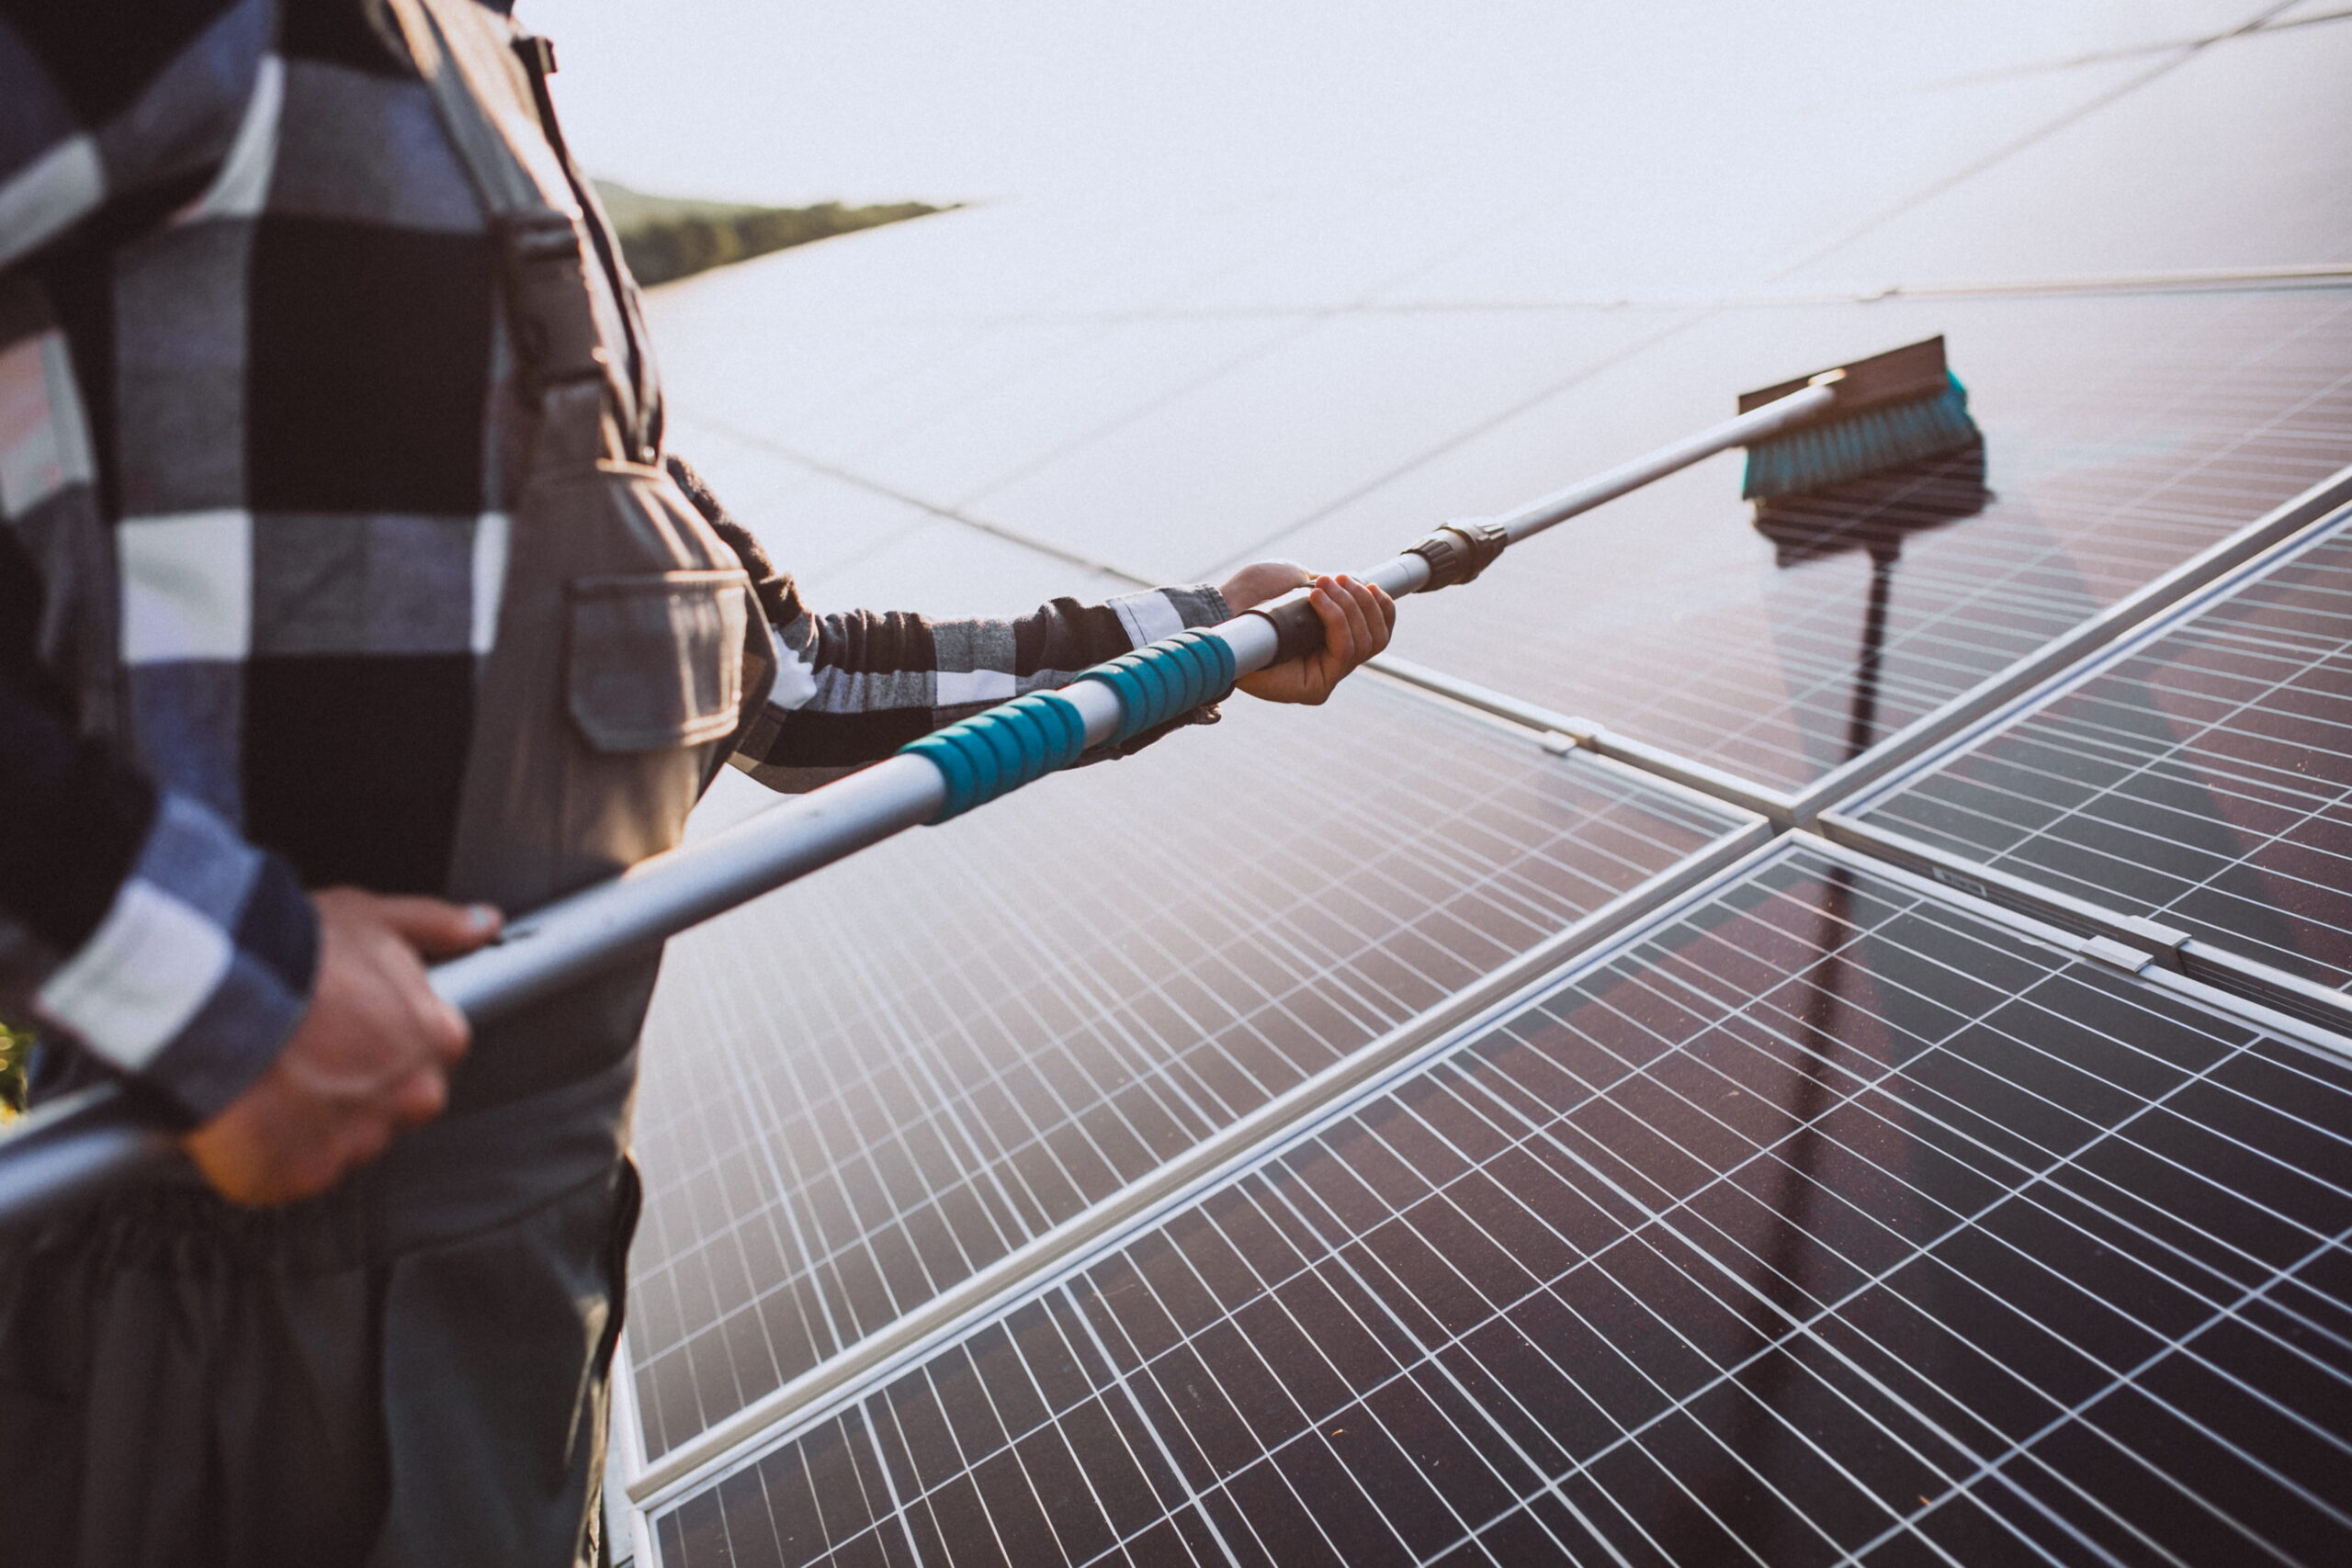
- Maintenance and cleaning required
Final Thoughts
Installing solar panels is a smart investment for homeowners who want lower energy bills and cleaner energy. Proper planning before installation helps improve system performance and prevents future problems.
With the right residential solar advice, homeowners can enjoy a smooth installation process and long-term energy savings for many years.